Verfasste Forenbeiträge
-
AutorBeiträge
-
 hanayamaTeilnehmer
Thank you very much for this useful info!
hanayamaTeilnehmerHi,
I do all my own backing/mounting including very large works. I also teach simple mounting on wood and canvas with much success.
There are a number of ways depending on who is your teacher or what book/video you consult. Henry Li’s are good so you can’t go wrong there.
For small pieces (8×10 and smaller) I use Nori paste or make my own with cornstarch. For very large pieces which require an initial backing, I make a flour-based paste. If you have used good quality ink (preferably ink stick) and Chinese or Japanese colours (tube, pan or granules), you should not have to worry about the water damaging the painting. These substances are made with a glue that renders the ink and colours permanent when dry. However, if you like to use watercolours made in the Western tradition, you can spray them with a fixative made for watercolour artists. Be aware though that this fixative can sometimes discolour the delicate washi (rice papers) so use with a light hand and caution. Test it first always on practice pieces.
Below, I have attached some recipes (home-made pastes) and a mounting method for you to try. My advice is – just try it! The alum water approach is also good by the way. PS RE: rather than glass, use plexiglass. Safer.
Best of luck to you! Sincerely, Heather
[Disclaimer: This method was passed along to me by a fellow artist. I have rewritten them and changed a few things based on my own experience. Some knowledge and experience regarding the treatment and handling of paintings on rice paper is assumed, and as such, I take no responsibility for any errors or problems with artwork that may occur during or after using this method. Good luck!]
How to mount onto a Wood (Box) Frame
Materials & Tools:
Wood frame – usually made from birch, and either regular depth or gallery depth
Rice paper a little larger than wood frame
**Acrylic medium of your choice
Your painting – preferably with the paper slightly larger than the finished piece will be
Acid-free paste (see recipes)
2” to 3” clean hake brush for paste – reserve for paste only!
2” to 3” clean hake brush for use with acrylic medium – reserve for medium only!
Spray bottle filled with water – for fine mist
Method:Ensure wood frame surface is clean and dry
Lay your painting on the wood frame where you would like it to sit and gently fold down edges to make a slight impression
Paint a thin layer of acrylic medium on frame to alkalize the surface & let dry
Spray mist a piece of plain rice paper to relax paper
Spread acid-free paste on surface of wood frame and use wax paper to smooth it starting from center outwards, then along edges, etc. Remove air bubbles and wrinkles gently. Cover with a piece of wax paper and let dry under some weight
Mist your painting to relax the paper, keep track of where you wanted it to sit on the wood frame (fold lines)
Spread paste on surface of wood frame and smooth painting on it to remove air bubbles and wrinkles without being too rough or the paper will pill – let dry
Optional: spread a thin layer of clear acrylic medium, preferably one that has UV protection, over the finished mounted painting
The finished work can be framed in a float frame or left unframed. Some ideas for finishing without additional framing include painting the sides with acrylic paint (black, white, etc.) or covering the sides with matching paper using the same glue process. Don’t forget to put your name, date and title of work on the inside back! Best to write these details on a piece of paper and glue it on the inside.Use appropriate hanging hardware such as sawtooth hangers for small pieces, or traditional wire with eye hooks for larger works. There are quite a few options to hang artwork.
**Various brands such as Golden, TriArt, Liquitex, etc. matte or semi-gloss acrylic medium
TIP: Use a permanent marker to write on your mounting brushes: PASTE ONLY, MEDIUM ONLY. Wash them well with warm water and soap. Keep them clean (away from paint, ink, etc.)
PASTE RECIPES
Ottawa School of Art 2020
Heather MacDonald, Instructor
Commercial Paste
Nori (Yasutomo brand) is a starch paste that is great for mounting smaller works. One jar lasts a long time!
Home-made Pastes
1. Wheat paste – made with pastry flour (low gluten)
2. Starch paste – made with cornstarch or rice flour (similar to Nori Paste)
These pastes are generally reversible (they can be undone with water) unlike white glue.
Wheat Paste
Traditional paste which can be made on the stove or in the microwave.
A word about Water:
If you want to be more archival, use distilled water to make your pastes. At the very least, I use filtered tap water from the fridge.
Microwave Method
¼ cup pastry flour
1 cup cold water
Thoroughly mix the flour into ¼ cup cold water. Remove all lumps. Boil the remaining ¾ cup water and then slowly pour the flour into it, whisking/mixing as you do so. It should start to thicken up. Microwave it in 30 second increments until it is thick enough. Store in the fridge in a clean jar or airtight container.
Stove-Top Method
1 part pastry flour*
4 ½ parts cold water
* For example: if you start with ½ cup of flour, then add 2 ¼ cups cold water. This makes quite a bit of paste. You may want to start with half this amount.
Combine flour and water with a whisk. Stir out all lumps. Place over low to medium heat. Stir nearly constantly until first bubbles appear as it approaches the boil. If you don’t watch and stir, the mixture will stick to the pot and scorch. Stir 30 seconds longer. Remove from heat immediately or you will end up with a mixture resembling rubber. Let cool, and paste away. It can be thinned with water if need be. Store in a clean air-tight container in the fridge. Keep it until it starts to smell bad.
————————————————————————
Starch Paste
Cornstarch or rice flour, when mixed with water and cooked, makes a smooth shiny paste that is strong when dry.
Microwave Method
Mix ¼ cup cornstarch or rice flour with enough cold water to make a smooth thick paste.
Stir in a cup of cold water and place in microwave for about 1 minute on HIGH power. Take it out and stir. As it thickens, be careful not to let it get rubbery. Check it after each 30 second increment. It is better to take it out and check it after each increment.. You want to have an almost pudding-like thickness – the paste will take on a translucent, slightly shiny look. Let it cool a bit – it usually thickens up even more as it cools off.
Strain out any lumps by pushing the paste through a sieve with a wooden spoon . Store the paste in a clean airtight container in the refrigerator when you’re finished. It can keep for a while, until it starts to smell bad.
Use the same approach over the stovetop, again watching it so that it does not overboil. Cook on medium-low rather than high heat, stirring constantly. Try not to let it get too thick. If the paste gets VERY thick, it can always be thinned with water. As long as it doesn’t burn, it’s ok. Make sure it is not lumpy!
hanayamaTeilnehmerThank you for posting this very interesting essay. It is also great to have the illustrations. There is a photo of a younger man standing with Mr. Huang and I believe it is the same man I saw here in Ottawa a few years ago. He came for a special event at our National Library and executed some huge calligraphic pieces for the audience. It was very special!
hanayamaTeilnehmerWish I could afford this book! Thanks for posting.
hanayamaTeilnehmerHi Elizabeth
Would love to see your lanterns!
Heather
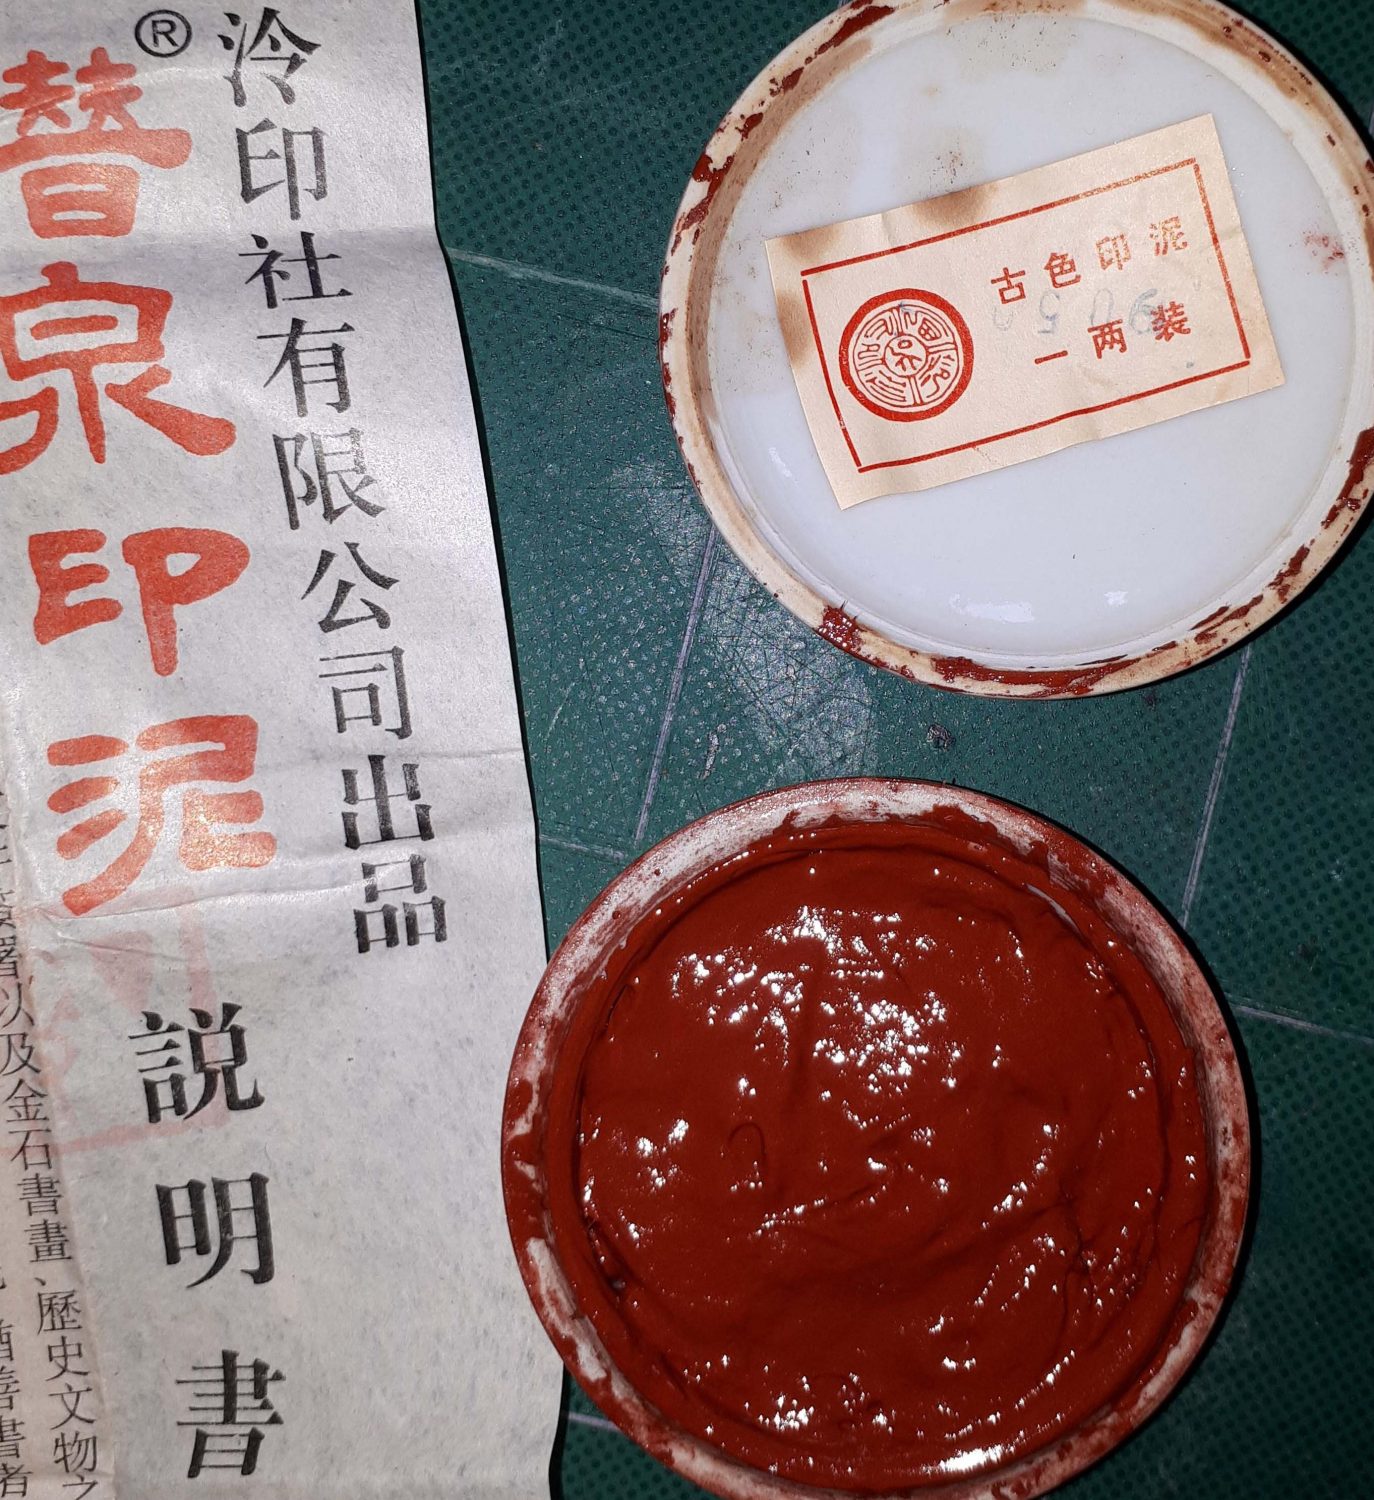
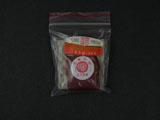
hanayamaTeilnehmerI tried to send pictures, but it looks like my post disappeared! Here they are again. First picture is the Xiling dark red seal paste in the package as received. Next picture is after I transferred it to the ceramic dish – a very messy and rather unpleasant task! Please note that the flash in my camera makes the paste look shiny, but it is not actually so shiny.
Any comments are appreciated! Thank you, Yan!

 hanayamaTeilnehmer
Hello Yan,
I can show you some pictures. When I received the paste (which I purchased from a very reliable supplier in California) it was in a plastic bag. I then transferred it to a ceramic seal paste dish with a lid. That was a very messy job! The other picture is after I put the paste into the ceramic dish. Please note that the camera light makes it look more shiny or oily, but actually it is not so shiny. Any comments are very helpful, thank you!
Here is the package.
 hanayamaTeilnehmer
I love these pictures! Thank you!
hanayamaTeilnehmerThe information given by member Charlesrtsua is really useful. I have a pretty good quality palm fibre brush, but it is exactly as he says in terms of the stiffness and need to clean. I was able to confidently remove the bottom line of stitching which made the brush way too stiff, then used his trimming idea and then sandpaper to refine some of the coarseness of the fibres. I am now gently boiling it in salt water, after an initial boil with baking soda. It is amazing how much of the purple-red colour has come out with the soda-boiling water mix. And it is easy to see all the dirt or dust coming out when the stitching is removed and from using the sandpaper.
I am glad I saw this information first, because no one told me this when I first bought the brush. And it would have ruined my delicate papers if I tried to use an unprepared brush for mounting.
Bravo Inkston for having this excellent Forum – and thanks to those who are generous in sharing their experiences with tools and materials!
hanayamaTeilnehmerHi!
I have a few books to recommend for learning landscapes – both Chinese and Japanese.
1. Oriental Painting Course – Wang Jia Nan and Cai Xiaoli with Dawn Young
2. Chinese Brushwork in Calligraphy and Painting – Kwo Da-Wei
3. Complete Sumi-e Techniques – Sadami Yamada – he also has a separate publication just for Sumi-e landscape painting.
4. The Mustard Seed Garden Manual of Painting – Mai-mai Sze
I have all these books myself plus quite a few more – I refer to all of them depending on whether I am working on calligraphy or sumi-e.
Best of luck!
hanayamaTeilnehmerThanks LuoYan!
I will try this. It is not dry but yet very thick and hard to stir so maybe small amount of oil is the answer!
<p style=“padding-left: 30px;“></p>
hanayamaTeilnehmer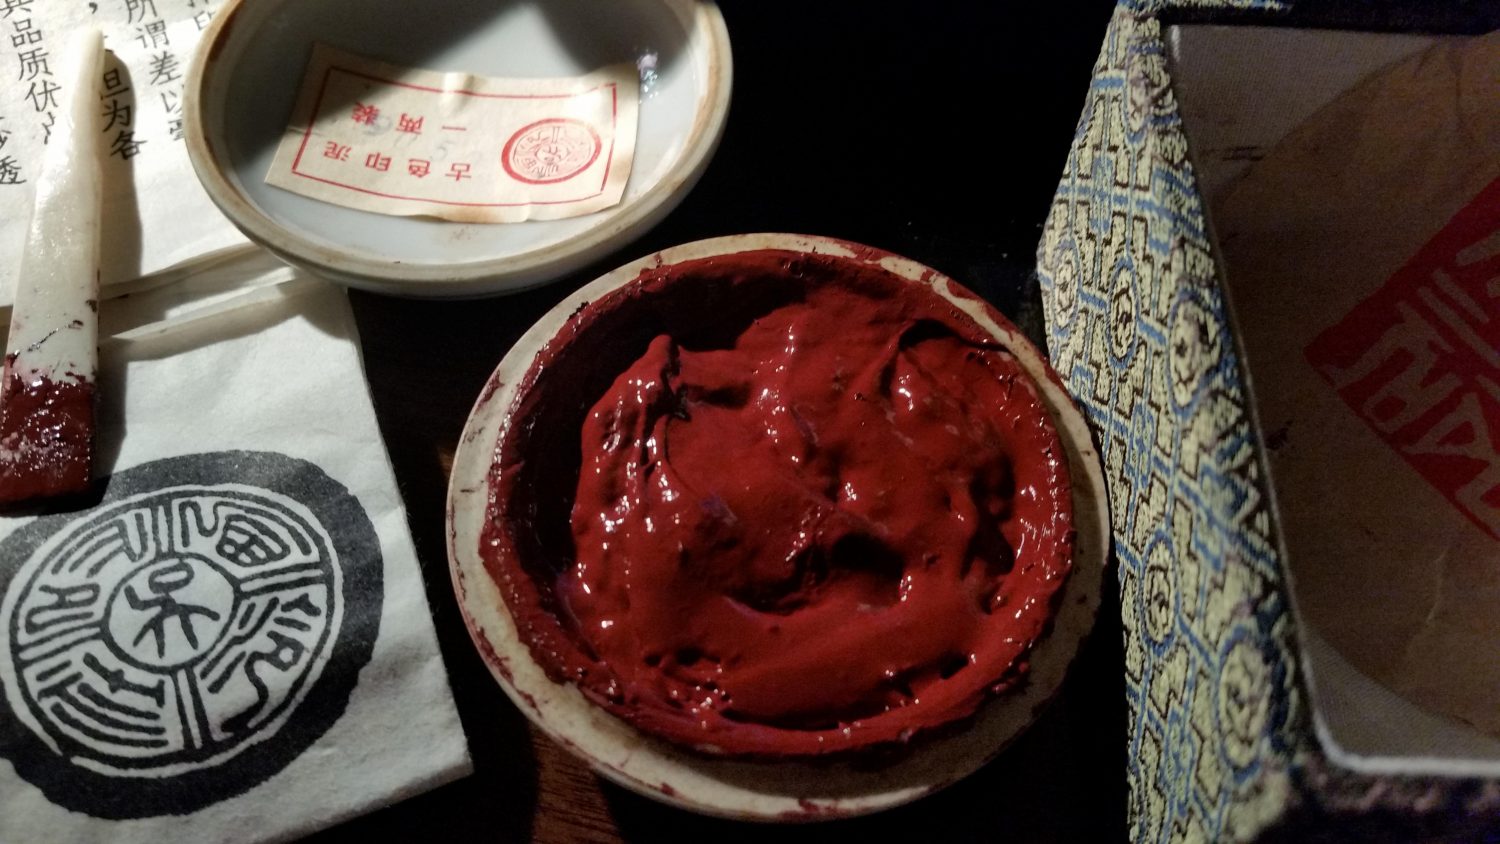 yes, here it is.
thanks.
hanayamaTeilnehmerThank you, most of that I could find out in general research, but I was particularly interested in how it is used in Asian painting other than mixing with paint – and someone else (not from Inkston) told me it is used to adhere gold leaf to paintings. I have since found that reference in a Japanese painting book.
hanayamaTeilnehmerHi
Yes I do think rough-to-rough is ideal, but rough-to-smooth would work too, I think. I also do bookbinding and so work with paste and glue often. My calligraphy is done typically on the smooth side, as I was taught.
Sometimes there is almost no difference between sides of the paper which tells me that I have to ‚test‘ each side first if I want to make absolutely sure, but with paper like that, in the end, it doesn’t seem to matter. The same amount of sizing has probably been used on both sides when it was made.
hanayamaTeilnehmerThank you for this great information – I recently purchased a palm brush and was wondering whether I needed to prepare it first. This has been so helpful!
-
AutorBeiträge